
Ultralight Backpacking for Beginners: A Practical Starter Guide
Build a lighter beginner backpacking kit with a safe, step-by-step approach that starts with trip needs and your current gear.
Draft status: Step 9 completed on 2026-07-21. This is article prose only, not the final structured blog object. Product examples, guide cards, and live internal slugs still require verification during object construction.
Beginners should start ultralight backpacking by choosing a simple low-risk trip, weighing every item, removing duplicates, and matching shelter, sleep, clothing, food, and water systems to expected conditions. Keep safety-critical gear, test changes on short trips, and replace expensive equipment only after the current kit reveals a clear problem.
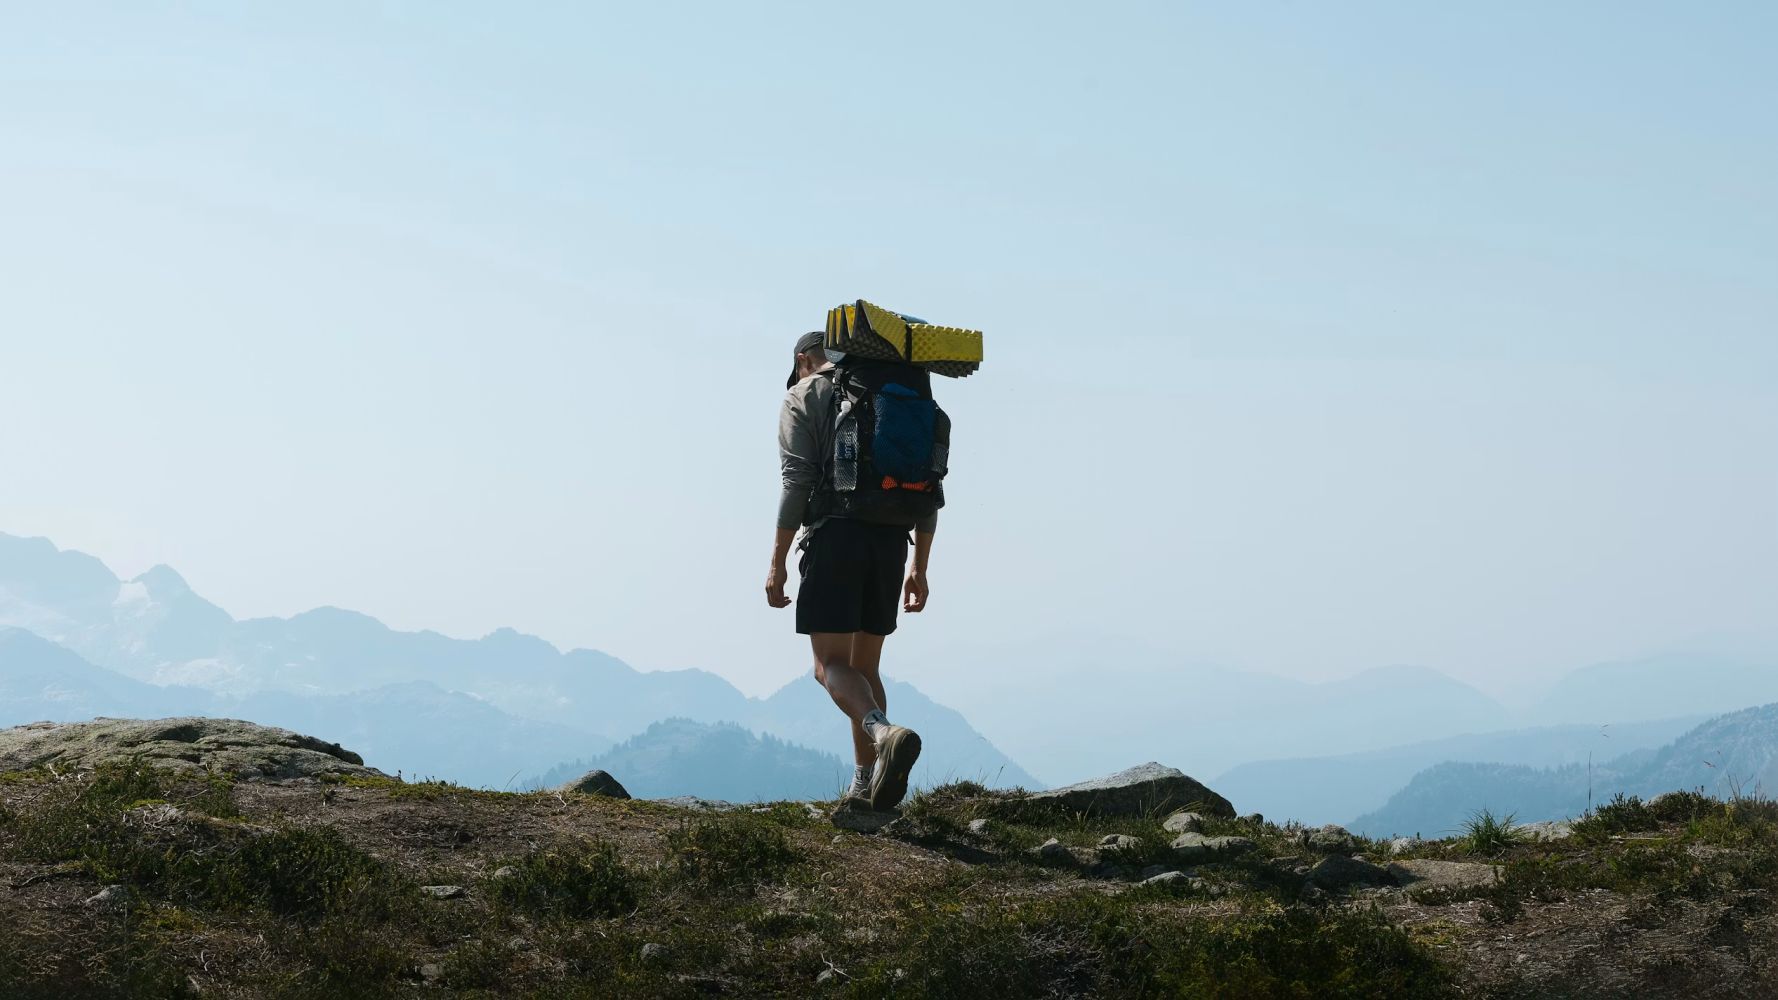
Ultralight backpacking is not a contest to carry the smallest number. It is a repeatable way to question weight while protecting the systems a trip requires. The useful beginner goal is a lighter, simpler kit that you understand—not an expert loadout copied without the same skills, route, or tolerance for discomfort.
The REI ultralight gear guide describes common base-weight conventions but notes that there is no official definition. The National Park Service Ten Essentials provides the more important boundary: lower weight should not remove navigation, illumination, weather protection, first aid, repair, emergency shelter, food, or water planning that the trip needs.
What Does Ultralight Backpacking Mean for a Beginner?
Base weight is the carried gear that stays relatively constant, excluding consumables such as food, water, and fuel. Worn clothing is normally tracked separately. That makes base weight useful for comparing systems, but it does not describe the whole load at the trailhead.
Common labels can help with planning, but they are conventions rather than safety ratings.
| Approach | Main goal | Typical tradeoff | Beginner caution |
|---|---|---|---|
| Traditional | Broad comfort and redundancy | Higher weight and bulk | Extra gear can hide poor planning |
| Lightweight | Reduce obvious excess while preserving familiar systems | Some cost or comfort decisions | Do not assume every lighter item works with the rest of the kit |
| Ultralight | Deliberately minimize total system weight | More skill, care, or narrower use case | Do not copy a target weight before defining the trip |
A desert route with a long dry carry, a bear-canister area, and a cold shoulder-season trip can produce very different starting loads. The label should follow the trip plan, not override it.
Start With the Trip, Not the Gear Store
Before weighing equipment, define what the equipment must do. The NPS Hike Smart guidance recommends checking route, terrain, weather, alerts, and the supplies appropriate to the outing.
Write down:
- Expected daytime weather and overnight lows.
- Reliable water sources and the longest dry section.
- Food-storage, permit, stove, and fire rules.
- Mileage, elevation, remoteness, and bailout options.
- Navigation, communication, medical, and mobility needs.
This list is the safety margin. Gear that answers one of these requirements is not automatically excess just because it is heavy.
Weigh and Group the Gear You Already Own
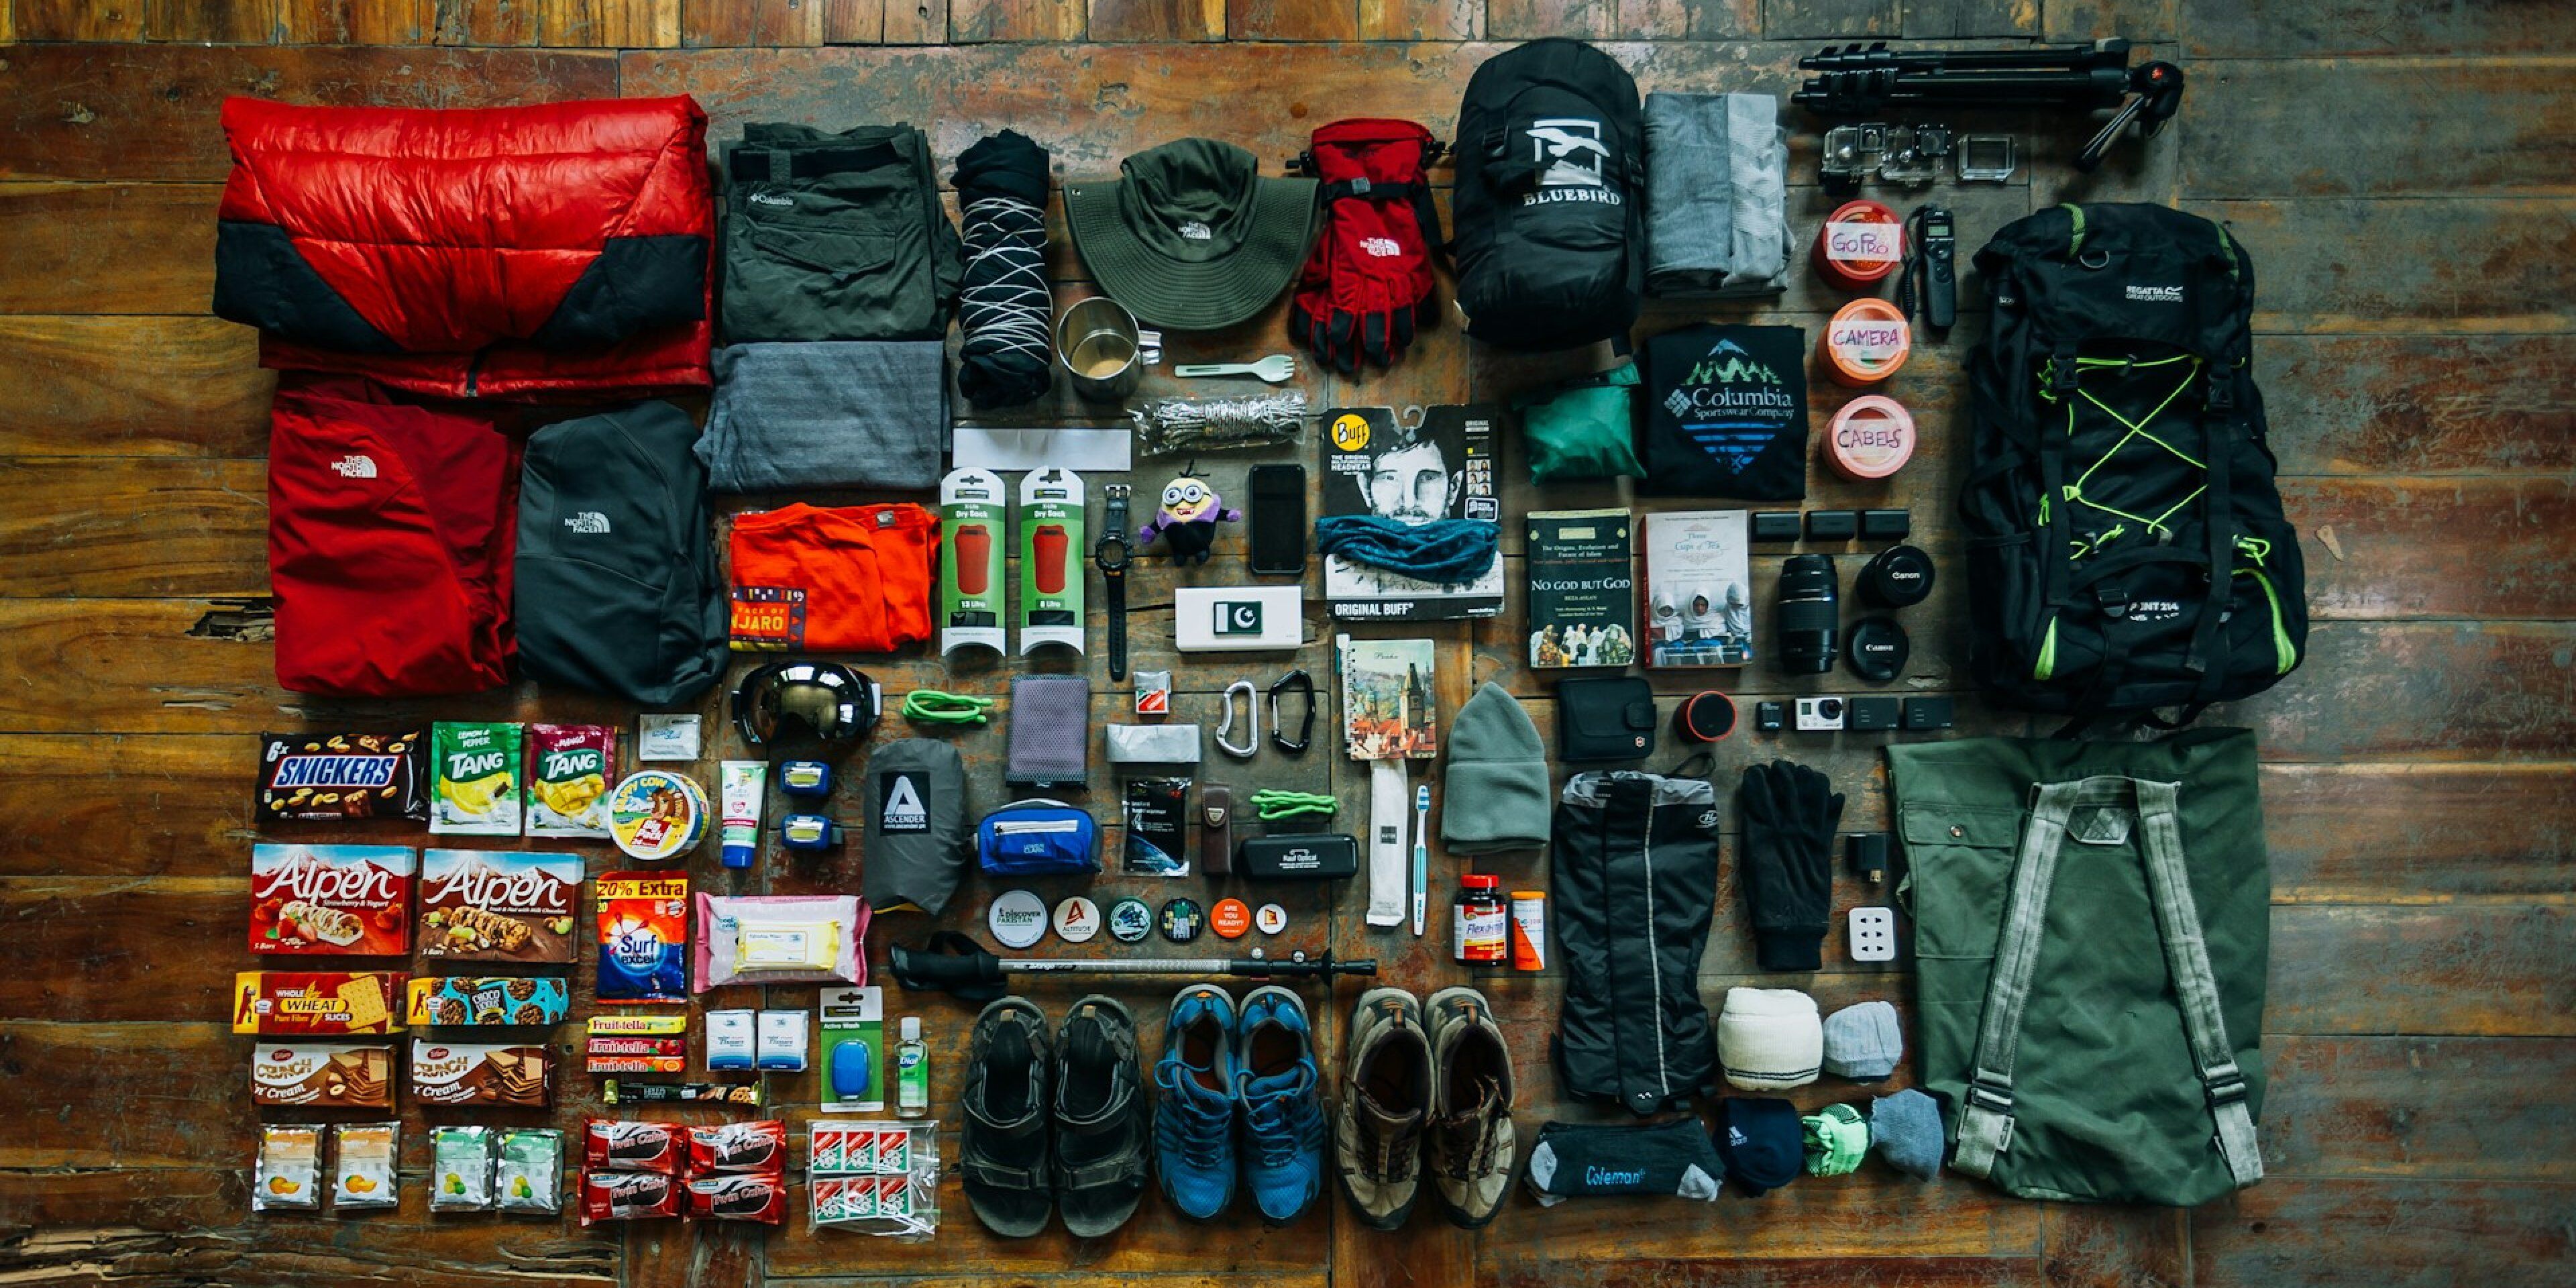
Lay out the complete kit and weigh each item. Group it by shelter, sleep, carry, clothing, kitchen, water, safety, electronics, hygiene, and personal needs. Mark food, water, and fuel as consumables.
| System | Check first | Keep the margin | Possible next step |
|---|---|---|---|
| Shelter | Capacity, weather fit, complete pitch | Required stakes, guylines, bug and rain protection | Compare lighter shelters only after the use case is clear |
| Sleep | Bag or quilt, pad, dry storage | Warmth for expected lows | Remove duplicate sleep clothing or right-size the system |
| Carry | Pack weight, volume, fit | Comfortable support for starting load | Finalize the backpack after the other bulky gear |
| Clothing | Duplicate outfits and layers | Rain, sun, insulation, dry sleep needs | Build one coordinated layering system |
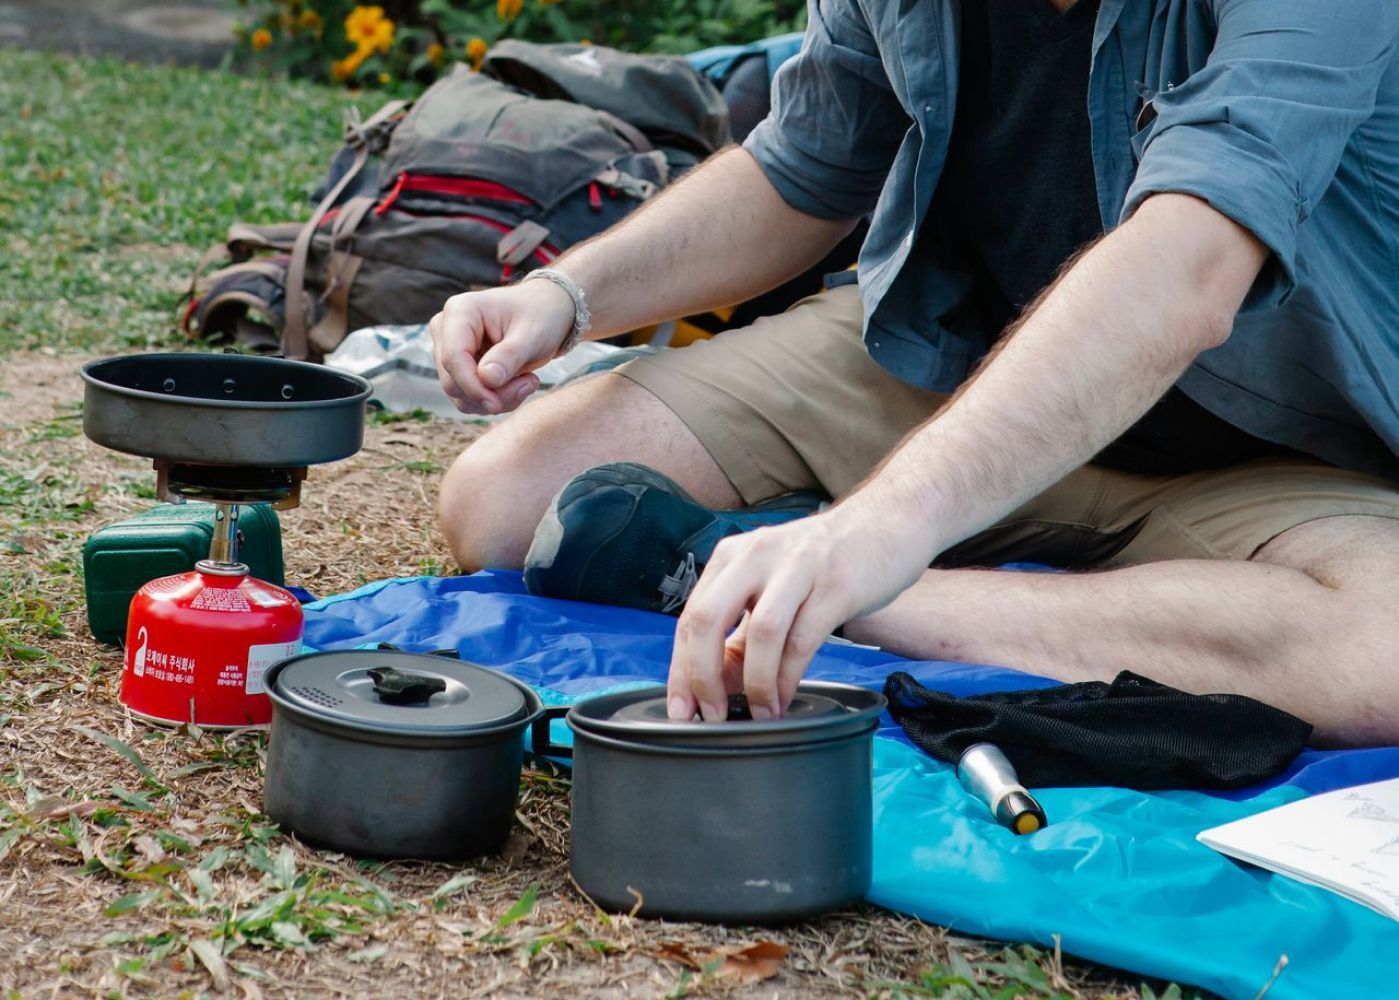
| Kitchen | Extra pots, bowls, and packaging | Reliable meals and allowed fuel | Simplify the menu before buying titanium |
| Safety | Generic bulk and duplication | Trip-appropriate essential systems | Repackage and customize rather than delete |
Cut Weight for Free Before Buying Anything
The first pass should target unnecessary items, not critical capability.
- Remove duplicate clothing and cookware.
- Repackage toiletries, sunscreen, and other consumables into trip-size containers.
- Assign shared shelter, stove, repair, or water gear so two people do not carry the same group item by accident.
- Leave route-irrelevant equipment at home.
- Remove packaging and redundant stuff sacks where dry protection is not affected.
- Record items that came home unused, while keeping emergency items in a separate category.
The REI backpacking trip-planning guide similarly recommends laying out gear, avoiding duplicates, assigning shared items, and testing before a larger trip.
Right-Size the Big Three Without Removing Safety Margin
The Big Three usually means shelter, sleep system, and backpack, though some sources use Big Four by counting the sleeping pad separately. These systems often hold the largest weight and volume opportunities.
Shelter
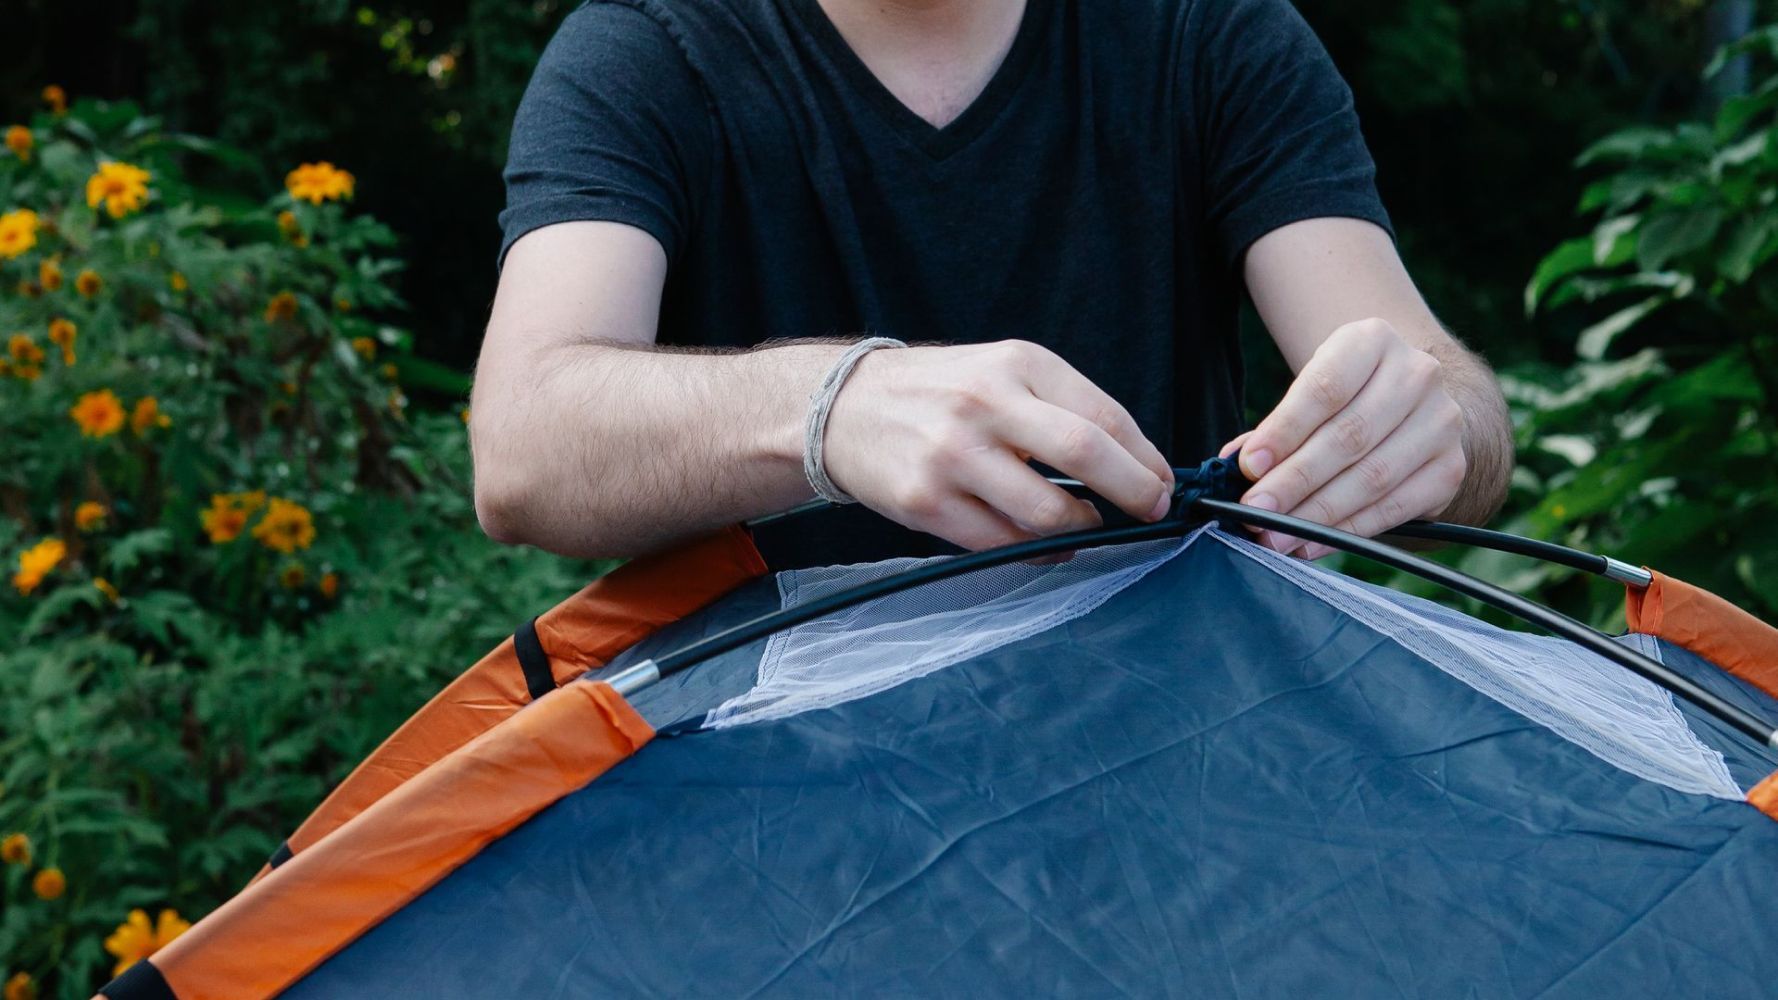
A lighter shelter is useful only if it fits the number of occupants, site, insects, weather, and your pitching skill. Include every component needed for the real pitch, not only the lightest advertised configuration.
Sleep system
Match insulation and pad warmth to expected lows and the sleeper. Do not compensate for an inadequate sleep system with vague plans to “wear everything.” Test the complete system close to home.
Backpack
Choose the pack after the shelter and sleep system are known. A very light pack can be uncomfortable when the total load exceeds its useful support range, and an oversized pack can encourage extra gear.
For the terminology and system boundaries, read what the Big Three includes; compare ultralight backpacks only after shelter and sleep-system volume are known.
Which Gear Should a Beginner Upgrade First?
Replace the item that solves the clearest observed problem.
| Problem observed | Upgrade worth considering | Lower-cost alternative | Tradeoff to check |
|---|---|---|---|
| Shelter is too heavy for its use | Lighter shelter with adequate protection | Borrow, rent, or buy used | Setup skill, space, durability |
| Sleep system is bulky or too cold | Better-matched bag/quilt or pad | Adjust one component first | Warmth, fit, moisture management |
| Pack is heavy after the kit is dialed | Lighter correctly fitted pack | Remove volume before replacing | Load support and comfort |
| Many small extras add up | No major purchase yet | Repackage and remove duplicates | Convenience and repairability |
Do not judge an upgrade only by cost per ounce. Fit, durability, learning curve, repairability, and how often you will use it matter too.
Test the Kit on a Low-Risk Shakedown Trip
Use a short overnight with manageable weather and an easy bailout. Practice the shelter pitch, cooking or no-cook plan, water treatment, navigation, packing order, and sleep system.
Afterward, sort the gear into four groups:
- Used and necessary.
- Unused but safety-critical.
- Unused and optional.
- Missing or inadequate.
Change one system at a time. That makes it easier to tell whether a lighter choice improved the trip or created a new problem.
FAQ
Is ultralight backpacking safe for beginners?
It can be when the kit still matches the route, weather, water, local rules, experience, and personal needs. Ultralight should mean deliberate weight reduction, not an incomplete safety system.
What base weight should a beginner aim for?
There is no universal beginner target. Weigh the current kit, remove clear excess, and use sourced thresholds only as conventions. A complete, tested kit is more important than crossing a number.
Do I need to buy ultralight gear to start?
No. Removing duplicates, repackaging consumables, sharing group gear, and choosing a suitable trip can reduce weight before any major purchase.
What should I remove first?
Start with duplicate clothing, extra cookware, full-size containers, redundant storage bags, oversized tools, and items unrelated to the route. Keep trip-appropriate navigation, weather, water, first-aid, repair, lighting, and emergency systems.
What are the Big Three in backpacking?
The common Big Three are shelter, sleep system, and backpack. Some educators use Big Four by separating the sleeping pad. Name the convention before comparing weights.
Which item should I upgrade first?
Upgrade the item that solves the clearest verified problem after a gear audit and shakedown. The heaviest item is not automatically the best purchase if it already works well.
How should I test a lighter kit?
Use a low-risk overnight with manageable weather and a simple exit. Practice every core system, record what was used or missing, and make one change at a time.
Related Guides
Ultralight Backpacking Checklist: What to Pack and What to Skip
Build a lighter backpacking kit with a practical checklist for essential gear, optional items, and weight-saving cuts that do not compromise safety.
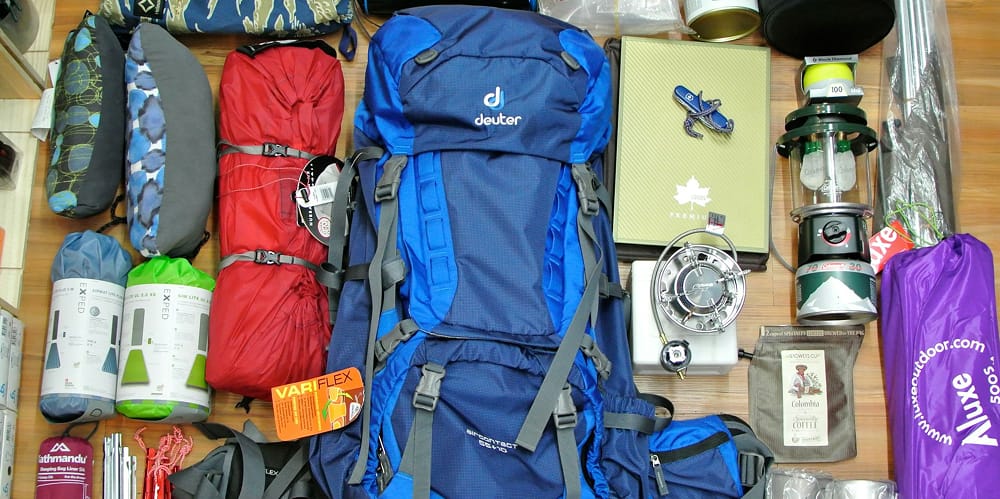
Base Weight for Backpacking: How Light Should Your Pack Be?
Understand backpacking base weight, how to calculate it, and how light your pack should be before food, water, and fuel.
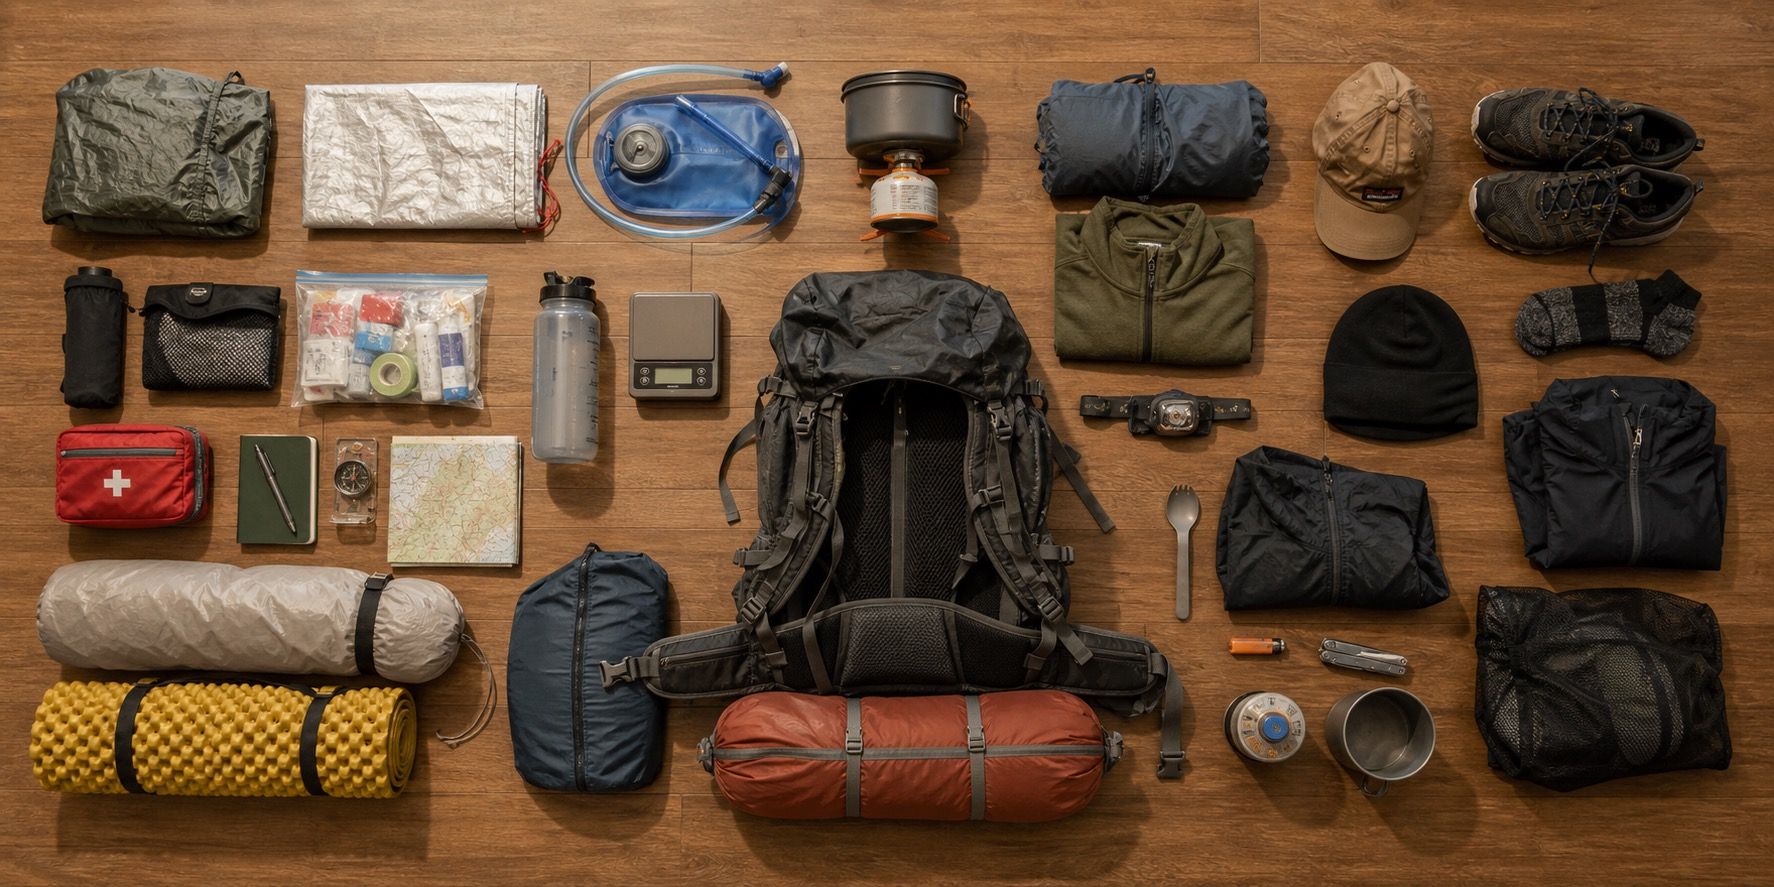
How to Reduce Backpacking Pack Weight Without Sacrificing Safety
Lower backpacking pack weight with a practical shakedown process that cuts unnecessary items before safety margin.
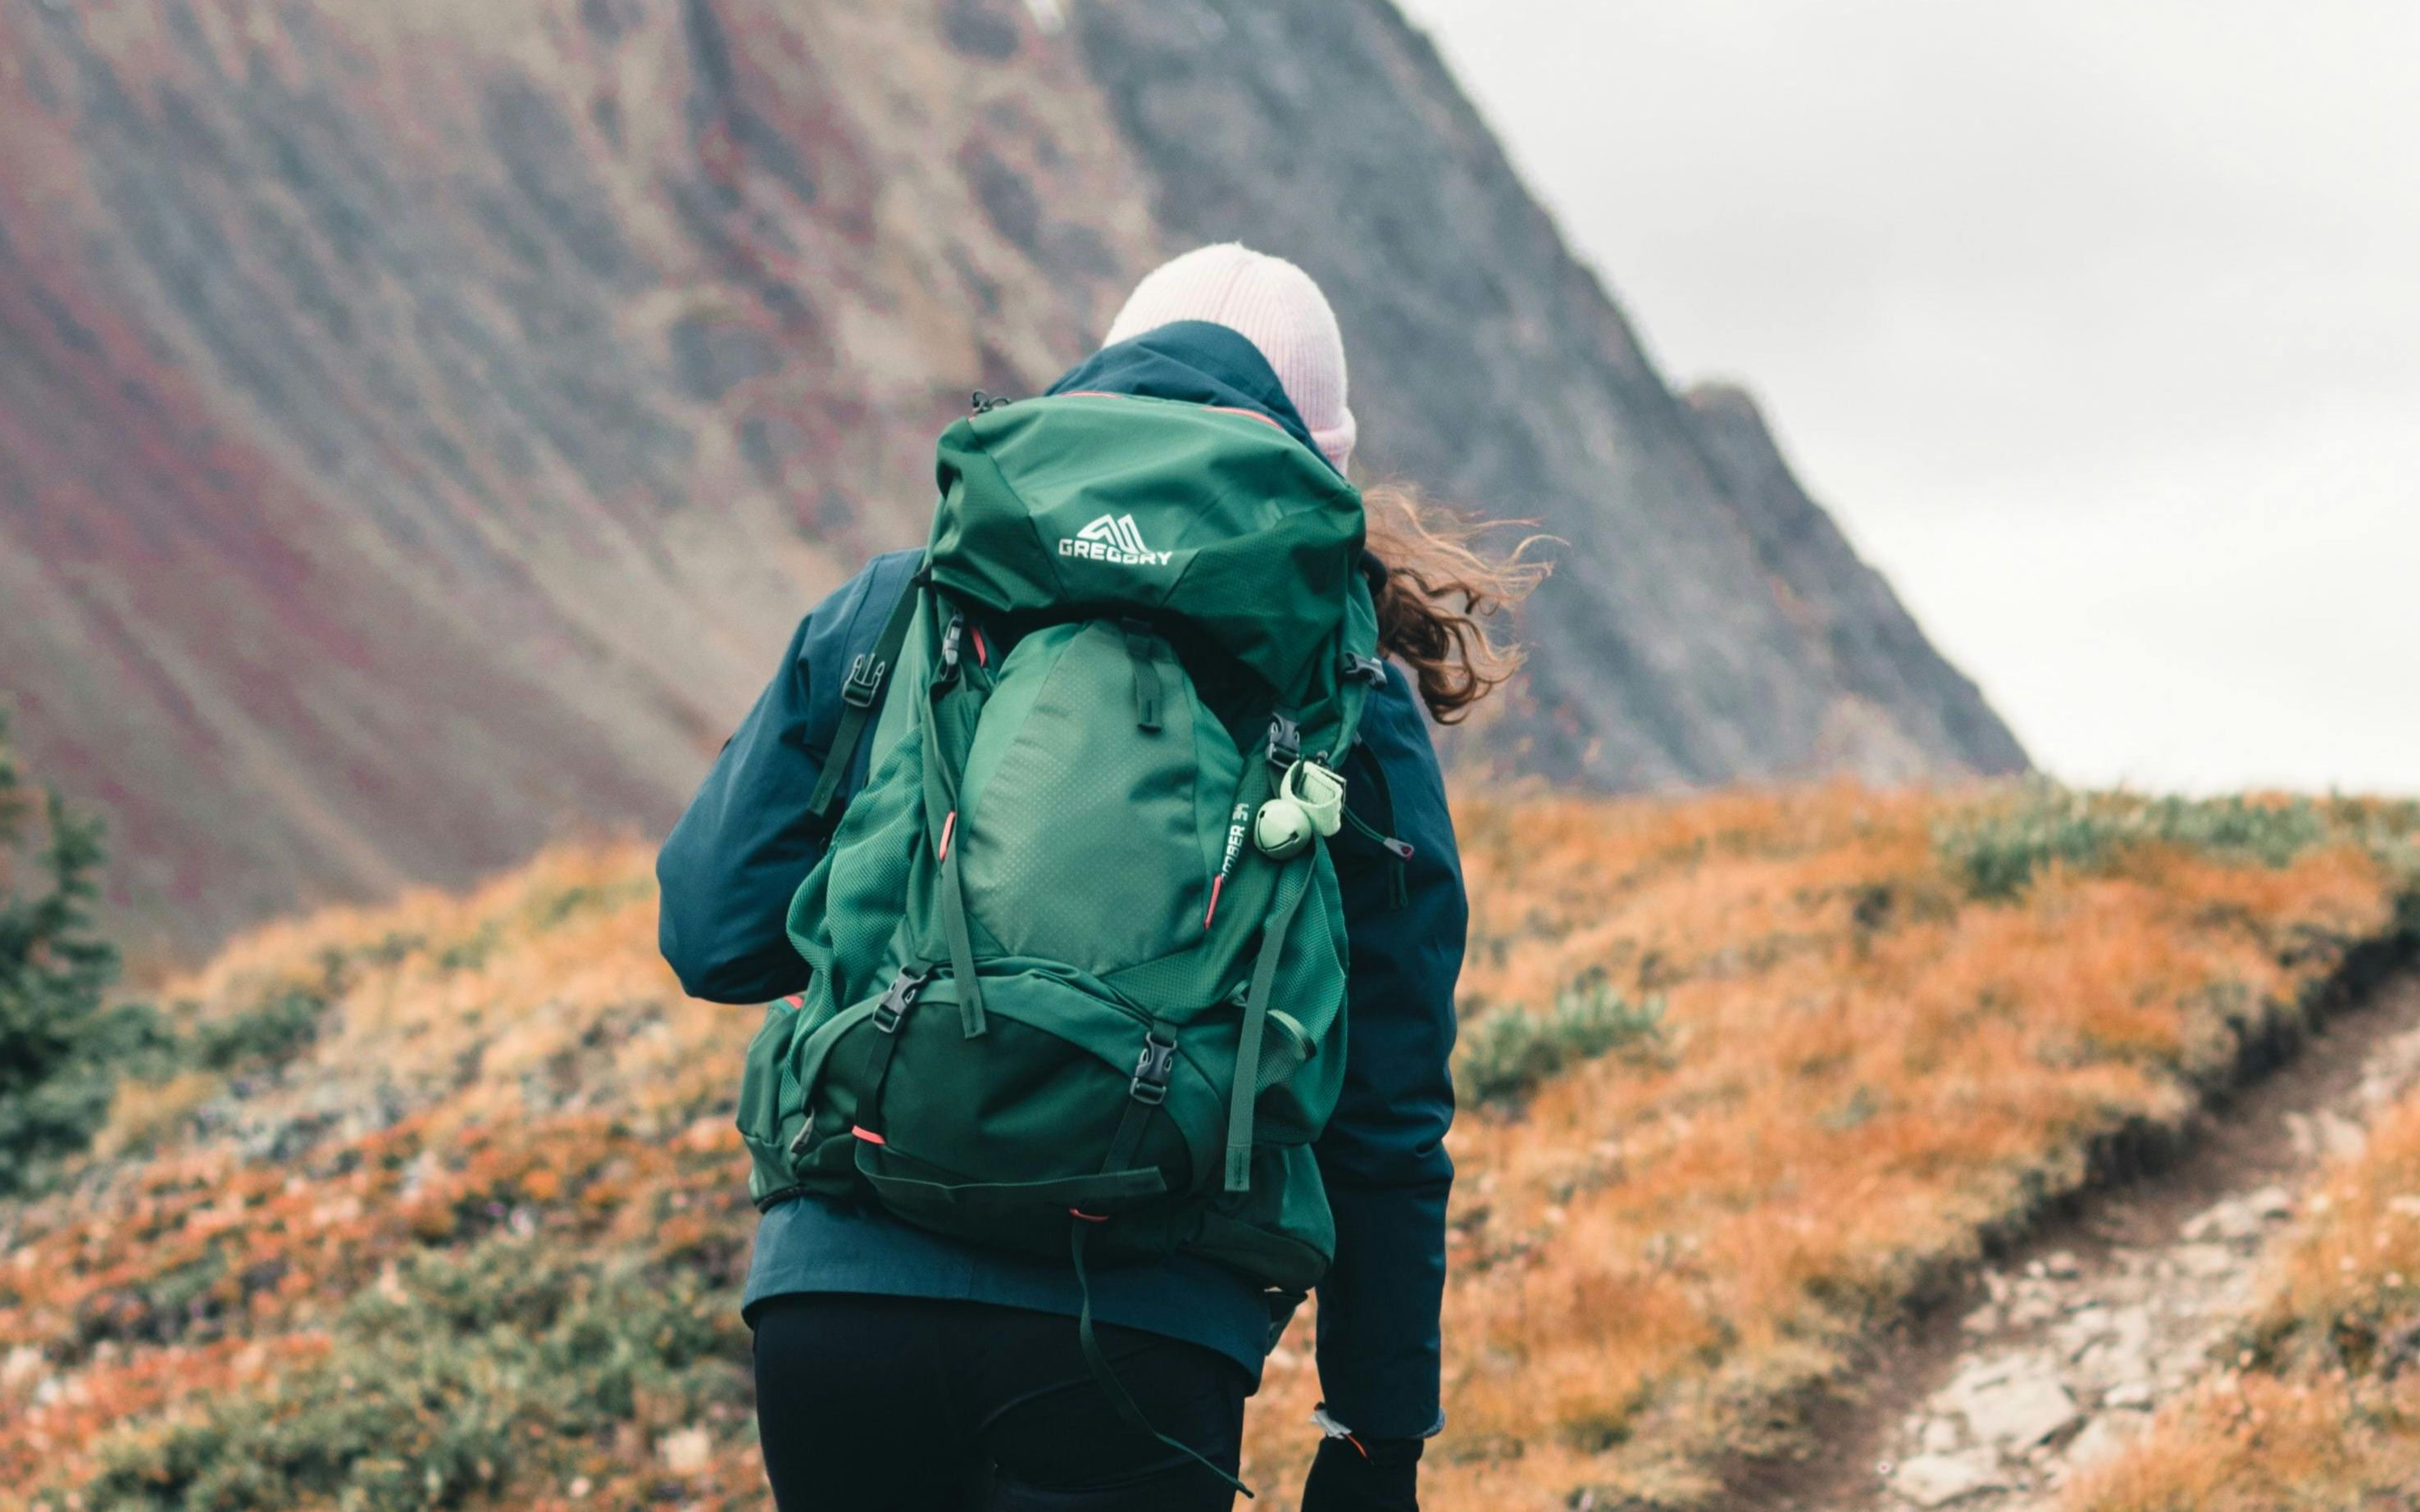
Best Backpacking Backpacks
Compare backpacking backpacks for overnight and multiday trips by capacity, fit, suspension, hipbelt comfort, ventilation, pockets, weight, and durability.
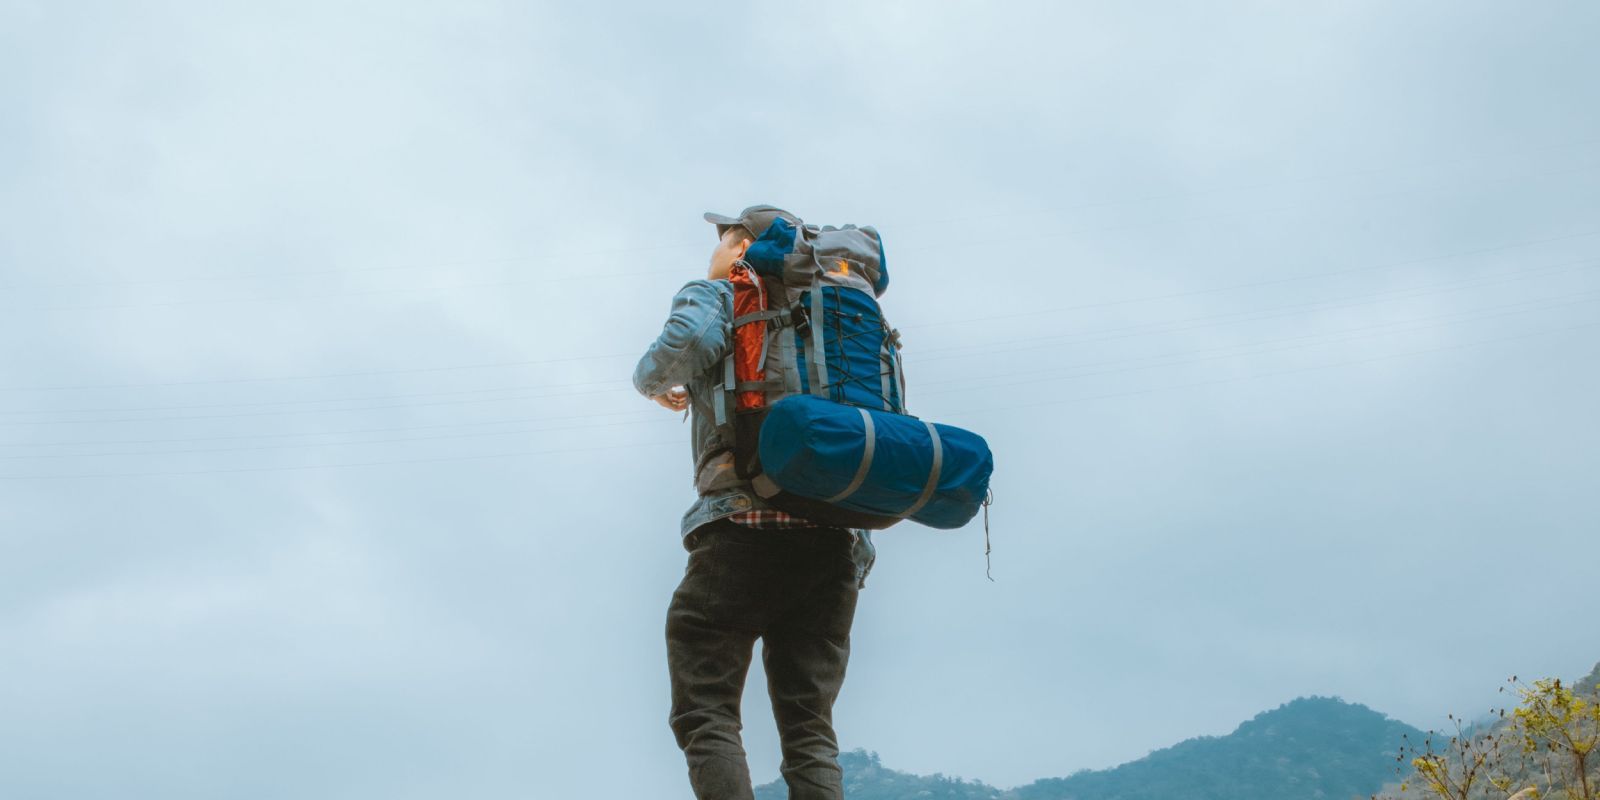
What Is the Big Three in Backpacking Gear?
Understand the backpacking Big Three—shelter, sleep system, and backpack—plus the Big Four variation, complete-weight comparisons, and upgrade order.
Budget Ultralight Backpacking Gear: Where to Save and Where to Spend
Lower pack weight without overspending by making free cuts first, testing used or borrowed gear, and upgrading only where a purchase solves a verified problem.